Mastering Studio Photography: Tips and Techniques for Captivating Shots

Studio photography offers unmatched control over lighting, background, and composition, making it a powerful tool for capturing professional-quality images. Whether you’re a seasoned pro or just stepping into the studio for the first time, this guide will help you elevate your skills and create stunning images.
Studio Photography

Why Studio Photography?

Studio photography gives you the ability to craft your images with precision. Unlike outdoor shoots, where you’re at the mercy of natural light and weather, the studio allows you to control every element, from lighting to props. This makes it ideal for portraits, product photography, and conceptual shoots.

Advantages of Studio Photography:

Controlled Environment: No worrying about weather or changing light conditions.
Customizable Lighting: Experiment with shadows, highlights, and light modifiers.
Consistent Results: Easily replicate setups for consistent results across multiple shoots.
Creative Freedom: Design unique compositions using backdrops, props, and effects.

Essential Studio Equipment

Setting up a studio doesn’t mean breaking the bank, but investing in quality equipment makes a big difference. Here are the essentials:

Lighting Gear

Strobe Lights: Provide intense bursts of light, ideal for freezing motion.
Continuous Lights: Great for beginners and video work.
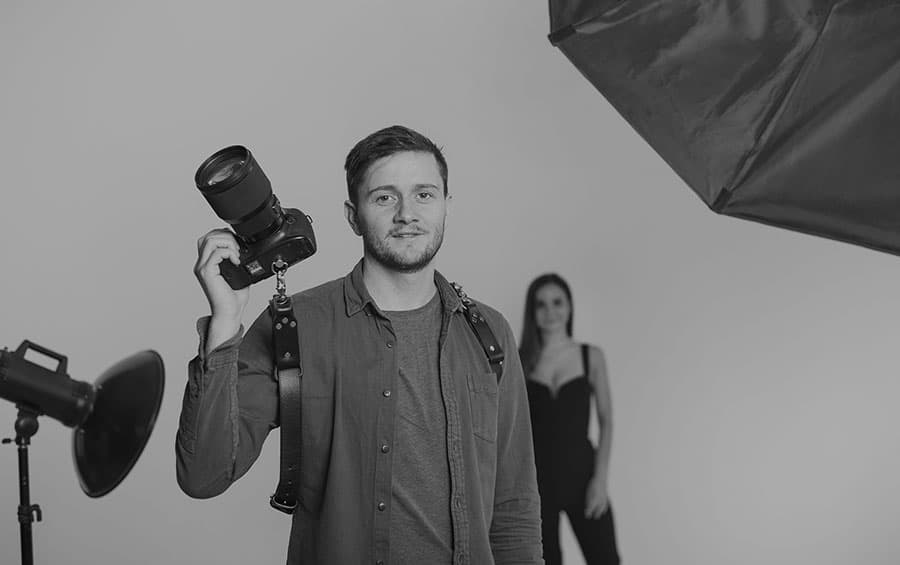
Light Modifiers: Softboxes, umbrellas, and reflectors help control light direction and quality.
Light Stands: Ensure your lighting equipment is stable and adjustable.

Backdrops

Seamless Paper: Popular for clean, professional backgrounds.
Fabric Backdrops: Add texture and character to portraits.
Green Screens: Perfect for digital editing and compositing.

Camera Accessories

Tripods: Ensure stability for longer exposures or precise framing.
Remote Triggers: Allow hands-free shooting and avoid camera shake.
Lenses: A good portrait lens (e.g., 50mm or 85mm prime) is a must-have.

Studio Photography Tips for Stunning Results

1. Master Your Lighting Setup

Lighting is the backbone of studio photography. Experiment with these techniques:

Three-Point Lighting: Use key, fill, and backlights for a balanced look.
Rembrandt Lighting: Create a dramatic effect by positioning a single light source at a 45-degree angle to the subject.
High-Key Lighting: Use bright, diffused light for an airy, cheerful vibe.

2. Know Your Camera Settings

Manual Mode: Gain full control over exposure.
Aperture: Use a wide aperture (e.g., f/2.8) for shallow depth of field or smaller apertures for group shots.
Shutter Speed: Adjust to freeze or blur motion creatively.
ISO: Keep it low to avoid grain, especially in controlled lighting conditions.

3. Pay Attention to Composition

Use the Rule of Thirds for balanced shots.
Experiment with angles – sometimes a slight tilt can create a more dynamic image.
Fill the frame or leave negative space strategically, depending on the mood of your image.

4. Perfect the Pose

Guide your subjects to feel comfortable and natural in front of the camera. Here are a few tips:

Show them a few basic poses beforehand.
Keep communication light and encouraging.
Adjust hands, posture, and facial expressions for refined results.

5. Experiment with Backgrounds and Props

Don’t hesitate to mix and match. Combine solid backdrops with thematic props to tell a story. For instance, a vintage chair or textured fabric can transform a plain portrait into a narrative image.

Post-Processing Tips

Editing can take a good photo to the next level.

Use software like Adobe Lightroom or Photoshop for color correction and retouching.
Avoid over-editing: Maintain a natural look by minimizing overly dramatic filters or effects.
Retouch minor flaws while preserving the character of the subject.

Common Studio Photography Mistakes to Avoid

  1. Overcomplicating Lighting: Start simple; one light can create stunning images if used effectively.
  2. Ignoring the Background: Check for wrinkles, shadows, or distractions.
  3. Not Testing Equipment: Always check your lights, camera, and settings before the shoot begins.
  4. Skipping a Shot List: Plan your shots to stay organized and efficient.

Studio photography is as much about creativity as it is about technical mastery. By learning to control light, experimenting with setups, and honing your skills in directing subjects, you’ll be able to produce images that resonate with your audience. Whether you’re capturing professional portraits or exploring creative concepts, the studio is your playground – make the most of it!

Leave a Comment

Your email address will not be published. Required fields are marked *

Scroll to Top